
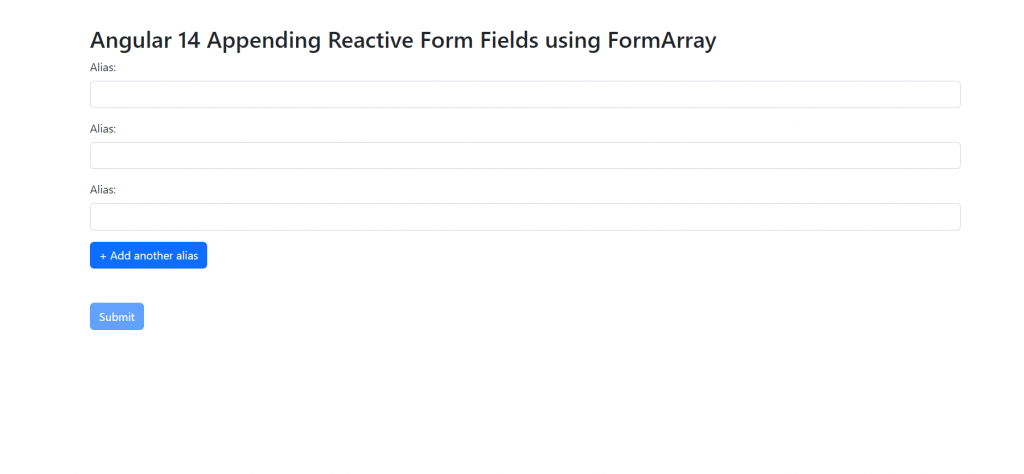
Hello to all, welcome to therichpost.com. In this post, I will tell you, Angular 14 Appending Reactive Form Fields using FormArray.
Guys with this we will cover below things:
- Angular 14 Reactive Form Implelemtnation.
- Reactive forms with append field.
Angular14 came and Angular 15 will come soon and if you are new then you must check below link:
Here is the code snippet and please use carefully:
1. Very first guys, here are common basics steps to add angular 14 application on your machine and also we must have latest nodejs version installed for angular 14:
npm install -g @angular/cli

ng new angularform // Set Angular 14 Application on your pc

cd angularform // Go inside project folder
2. Now run below commands to set bootstrap 5 modules into our angular 14 application for responsiveness (optional):
npm install bootstrap

npm i @popperjs/core
3. Now friends we just need to add below code into angularform/angular.json file (optional):
"styles": [
              ...
              "node_modules/bootstrap/dist/css/bootstrap.min.css"
          ]
4. Now guys we will add below code into our angularform/src/app/app.module.ts file:
...
import { ReactiveFormsModule } from '@angular/forms';

@NgModule({
...
  imports: [
   ...
    ReactiveFormsModule,

  ],
  providers: [],
  bootstrap: [AppComponent]
})
export class AppModule { }
5. Now guys we will add below code into our angularform/src/app/app.component.ts file:
import { Component } from '@angular/core';
import { FormGroup, FormControl, Validators, FormBuilder, FormArray } from '@angular/forms';

@Component({
  selector: 'app-root',
  templateUrl: './app.component.html',
  styleUrls: ['./app.component.scss']
})
export class AppComponent {
  title = 'angularcrud';

  constructor(private fb: FormBuilder) { }
  profileForm: FormGroup = new FormGroup({
    firstName: new FormControl(''),
    lastName: new FormControl(''),
  });
  submitted = false;
  ngOnInit(): void {


    this.profileForm = this.fb.group(
      {
        firstName: ['', Validators.required],
        lastName: ['', Validators.required],
        aliases: this.fb.array([
          this.fb.control('')
        ])
      });
    }
    get f() { return this.profileForm.controls; }
  onSubmit() {
    // TODO: Use EventEmitter with form value
    this.submitted = true;

    if (this.profileForm.invalid) {
      return;
    }

    console.warn(this.profileForm.value);
  }

  get aliases() {
    return this.profileForm.get('aliases') as FormArray;
  }

  addAlias() {
    this.aliases.push(this.fb.control(''));
  }
}
6. Finally we will add below code into our angularform/src/app/app.component.html file:
<div class="container p-5">
   <form class="" [formGroup]="profileForm" (ngSubmit)="onSubmit()">
      <div class="mb-3">
        <label class="form-label" for="first-name">First Name: </label>
        <input class="form-control" id="first-name" type="text" formControlName="firstName"  [ngClass]="{ 'is-invalid': submitted && f['firstName'].errors }">
        <div *ngIf="submitted && f['firstName'].errors" class="invalid-feedback">
          <div *ngIf="f['firstName'].errors['required']">FirstName is required</div>
        </div>
      </div>
      <div class="mb-3">
        <label class="form-label" for="last-name">Last Name: </label>
        <input class="form-control" id="last-name" type="text" formControlName="lastName" [ngClass]="{ 'is-invalid': submitted && f['lastName'].errors }">
        <div *ngIf="submitted && f['lastName'].errors" class="invalid-feedback">
          <div *ngIf="f['lastName'].errors['required']">LastName is required</div>
        </div>
      </div>
      <div formArrayName="aliases">
         <h2>Aliases</h2>


         <div *ngFor="let alias of aliases.controls; let i=index">
           <!-- The repeated alias template -->
           <div class="mb-3">
            <label class="form-label" for="alias-{{ i }}">Alias:</label>
            <input class="form-control" id="alias-{{ i }}" type="text" [formControlName]="i">
            </div>
         </div>
         <button class="btn btn-primary mb-5" type="button" (click)="addAlias()">+ Add another alias</button>
       </div>
      <button class="btn btn-primary" type="submit" [disabled]="!profileForm.valid">Submit</button>

    </form>


</div>
Now we are done friends and please run ng serve command to check the output in browser(locahost:4200) and if you have any kind of query then please do comment below.
Note: Friends, I just tell the basic setup and things, you can change the code according to your requirements. For better understanding please watch video above.
Guys I will appreciate that if you will tell your views for this post. Nothing matters if your views will be good or bad.
Jassa
Thanks
Leave a Reply