Hello friends, welcome back to my blog. Today in this blog post we will do, Angular 13 User Login Authentication Tutorial Part 2 – Work with Services
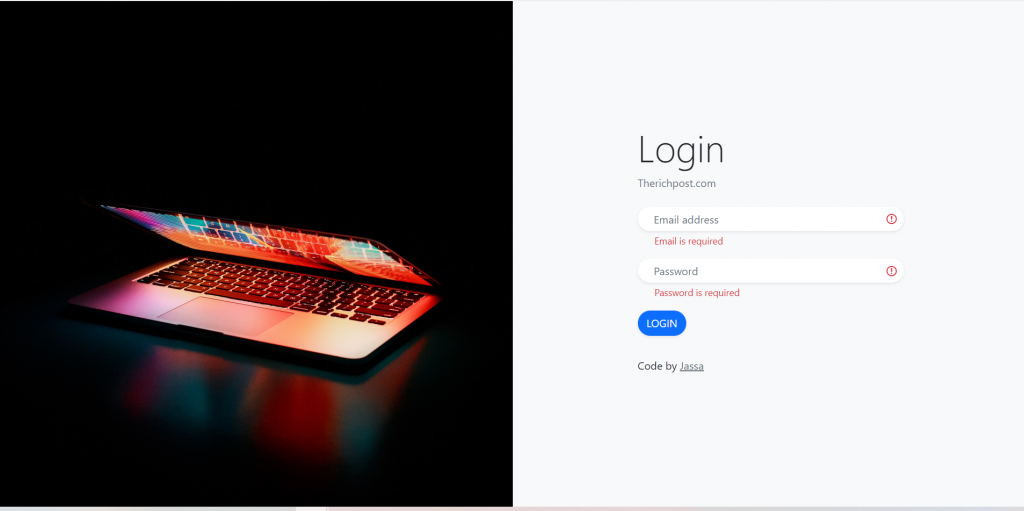
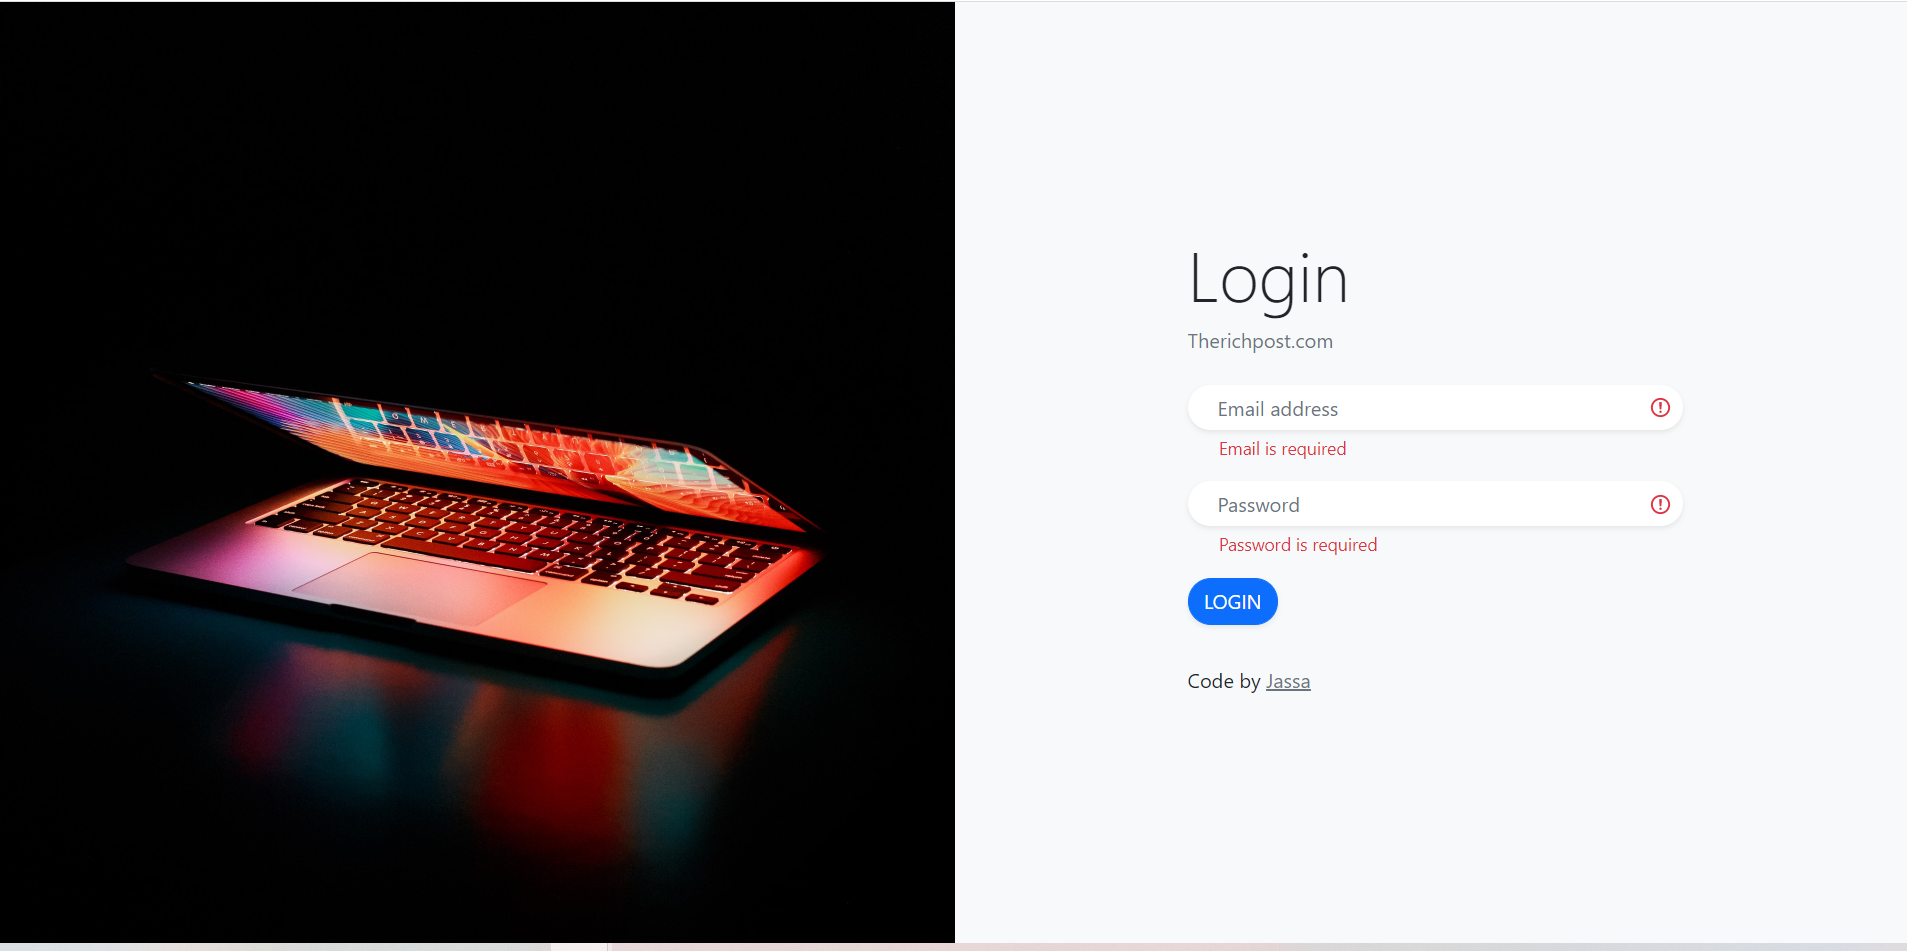
Guys before going through with this post please see the part 1 of this post for basic setup. Guy’s in last post we have done login page setup and validations.
In this post we will first create service file and then send login form details to services file with the help function that we will make in service file.
and in next post it we will do NODEJs backend work.
Here is the tutorial link for update angular version to 13: Update Angular 13 to Angular 13

Angular 13 came and Bootstrap 5 also and if you are new then you must check below two links:
Friends now I proceed onwards and here is the working code snippet and please use carefully this to avoid the mistakes:
1. Now friends, here we need to run below command into our project terminal to make service file into our angular 13 application:
ng g s authservice
2. Now friends we just need to add below code into src/app/authservice.service.ts file to make user login function in service file to post and get data:
import { Injectable } from '@angular/core';

@Injectable({
  providedIn: 'root'
})
export class AuthserviceService {

  constructor() { }

  public loginuser(userData:any)
  {

    //get login user data
    userData.forEach((value:any,key:any) => {
      console.log(key+" "+value)
    });

    //


  }
}
3. Now friends we just need to add below code into src/app/login/login.component.ts file to get user login data and send to service file:
import { Component, OnInit } from '@angular/core';
import { FormBuilder, FormGroup, Validators } from '@angular/forms';
import { AuthserviceService } from '../authservice.service';
@Component({
  selector: 'app-login',
  templateUrl: './login.component.html',
  styleUrls: ['./login.component.css']
})
export class LoginComponent implements OnInit {

  constructor(private formBuilder: FormBuilder, private userauth : AuthserviceService) { }
  //Form Validables
  registerForm:any =  FormGroup;
  submitted = false;

  //Add user form actions
  get f() { return this.registerForm.controls; }
  onSubmit() {

    this.submitted = true;
    // stop here if form is invalid
    if (this.registerForm.invalid) {
        return;
    }
    //True if all the fields are filled
    if(this.submitted)
    {
      //alert("Great!!");
      // Initialize Params Object
      var myFormData = new FormData();

      // Begin assigning parameters

      myFormData.append('myemail', this.registerForm.value.email);
      myFormData.append('mypassword', this.registerForm.value.password);

      this.userauth.loginuser(myFormData); //caaling add user
    }

  }


    //login form
  ngOnInit(): void {
    //login form
   //Add User form validations
   this.registerForm = this.formBuilder.group({
    email: ['', [Validators.required, Validators.email]],
    password: ['', [Validators.required]],
    });
  }

}
Friends in the end must run ng serve command into your terminal to run the angular 13 project.
Guys in next part of this post we will do NodeJS backend.
Now we are done friends. If you have any kind of query, suggestion and new requirement then feel free to comment below.
Note: Friends, In this post, I just tell the basic setup and things, you can change the code according to your requirements.
I will appreciate that if you will tell your views for this post. Nothing matters if your views will be good or bad because with your views, I will make my next posts more good and helpful.
Jassa
Thanks

Leave a Reply
You must be logged in to post a comment.