Hello to all welcome back on my blog therichpost.com. Today in this blog post, I am going to tell you, Angular 13 Crud Tutorial with Services Part-3 View User.
Important : Guy’s before stating with this, please check the part 1 and part 2 for basic angular 13 setup with services: Angular 13 Crud Tutorial with Services Part 1 – Add User
Angular 13 Crud Tutorial with Services Part 2 – Delete User
Guy’s with this post we will learn below things:
- Angular13 dynamic routing.
- Get url parameter value in angular13.
Guys here is working code snippet and please follow carefully to avoid the mistakes:
1. Guy’s very first we need to run the below command into our project terminal to create the view user component:
ng g c user
2. Now friends, now we need to add below code into our angularcrud/src/app/app-routing.module.ts file to make view user dynamic route:
...
import { UserComponent } from './user/user.component'
const routes: Routes = [
  ...
  { path: 'user/:id', component: UserComponent },
];
3. Now friends, now we need to add below code into our angularcrud/src/app/crud.service.ts file to create View User API services:
...
export class CrudService {
  ...
  userid:any;
  singleuserdata:any;
  //get single user
  public getsingleuser(userid)
  {
    return this.http.post('http://localhost/users.php/'
    , userid).subscribe((res: Response) => {
      this.singleuserdata = res[0];


    });
  }


}
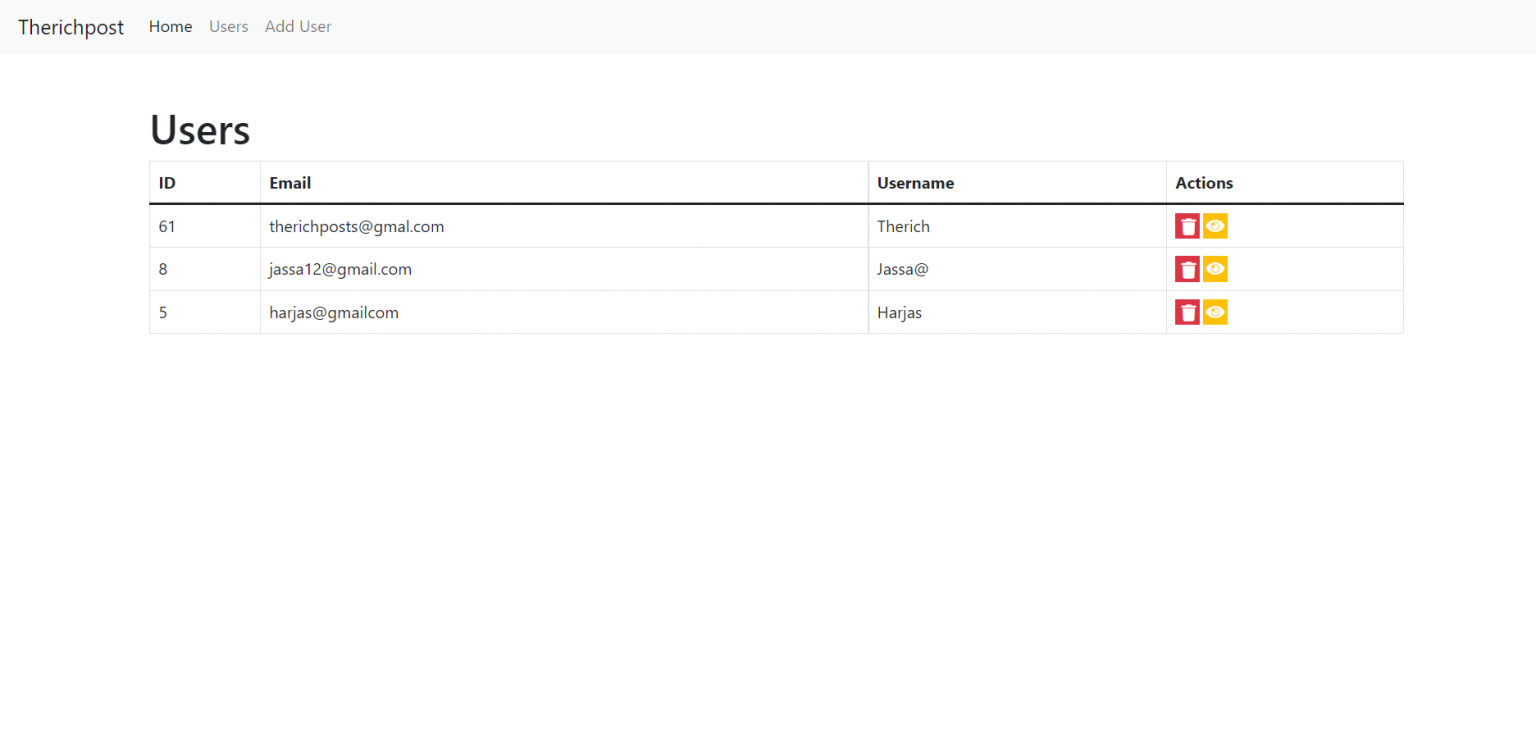
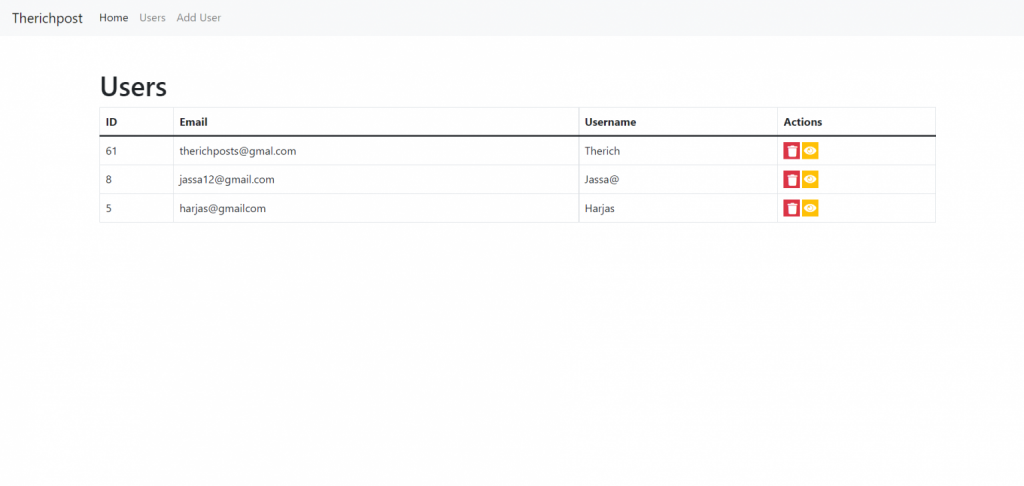
4. Now guys, now we need to add below code into our angularcrud/src/app/users/users.component.html file:
I must say please replace old file code with this code completely because I have done some more changes.
<div class="container p-5">
    <h1>Users</h1>
    <table class="table table-hover table-bordered">
        <thead>
          <tr>
            <th>ID</th>
            <th>Email</th>
            <th>Username</th>
            <th>Actions</th>
          </tr>
        </thead>
        <tbody>


              <tr *ngFor="let group of data">
                <td>{{group.id}}</td>
                <td>{{group.email}}</td>
                <td>{{group.username}}</td>
                <td><button class="bg-danger"> <i class="fas fa-trash" (click)="deleteuser(group.id)"></i> </button>
                  <a class="bg-warning" routerLink="/user/{{group.id}}"> <i class="fas fa-eye"></i> </a></td>
              </tr>


        </tbody>
      </table>


</div>
5. Now guys, now we need to add below code into our angularcrud/src/app/user/user.component.ts file:
Guy’s in this first we will get dynamic ID from url and after that getting data from API according to that ID
...
import {Router, ActivatedRoute, Params} from '@angular/router'; //ActivatedRoute module to get dynamicid from route
import { CrudService } from '../crud.service';

export class UserComponent implements OnInit {

  id:any;
  user:any;


  constructor(private activatedRoute: ActivatedRoute, private crudservice: CrudService) {

    //getting and storing dynamic ID
    this.id = this.activatedRoute.snapshot.paramMap.get('id');

    //Single User WEB API
   // Initialize Params Object
   var myFormData = new FormData();

   // Begin assigning parameters

   myFormData.append('userid', this.id);

   //user details post request
   this.crudservice.getsingleuser(myFormData);
   setTimeout(()=>{
   this.user = this.crudservice.singleuserdata;
  }, 100);
  }

  ngOnInit(): void {
  }

}
6. Now guys, now we need to add below code into our angularcrud/src/app/user/user.component.html file:
<div class="container p-5">
    <h1>Users</h1>
    <table class="table table-hover table-bordered">
        <thead>
          <tr>
            <th>ID</th>
            <th>Email</th>
            <th>Username</th>

          </tr>
        </thead>
        <tbody>


              <tr>
                <td>{{user.id}}</td>
                <td>{{user.email}}</td>
                <td>{{user.username}}</td>

              </tr>


        </tbody>
      </table>


</div>
7. Now guy’s please add below code inside https://angularcrud/src/index.html file for icons and styles:
...
<head>
...
  <link rel="stylesheet" href="https://maxcdn.bootstrapcdn.com/bootstrap/4.3.1/css/bootstrap.min.css">
  <link rel="stylesheet" href="https://use.fontawesome.com/releases/v5.6.3/css/all.css">
  <style>
     .bg-primary, .bg-warning, .bg-danger, .bg-info{border: none;
    margin-right: 3px;
    height: 25px;
    width: 24px;
    float: left;
    text-align: center;}
   .fa-edit:before,  .fa-user:before, .fa-trash:before, .fa-eye:before{color: #fff;}
   .btn{margin-right: 3px;}

  </style>
</head>
...
8. Now guys, now we need to add below code inside our xampp/htdocs/users.php file:
I must say please replace old file code with this code completely because I have done some more changes.
<?php header('Access-Control-Allow-Origin: *');
header('Access-Control-Allow-Credentials: true');
header('Access-Control-Allow-Methods:POST,GET,PUT,DELETE');
header('Access-Control-Allow-Headers: content-type or other');
header('Content-Type: application/json');

//Please create users database inside phpmysql admin and create userdetails tabel and create id, email and username fields

$servername = "localhost";
$username   = "root";
$password   = "";
$dbname     = "users";
// Create connection
$conn = new mysqli($servername, $username, $password, $dbname);
// Check connection
if ($conn->connect_error) {
    die("Connection failed: " . $conn->connect_error);
}

//Add user
if(isset($_POST['myEmail']))
{
    $sql = "INSERT INTO userdetails (email, username)
        VALUES ('".$_POST['myEmail']."', '".$_POST['myUsername']."')";
    if (mysqli_query($conn,$sql)) {
    $data = array("data" => "You Data added successfully");
        echo json_encode($data);
    } else {
        $data = array("data" => "Error: " . $sql . "<br>" . $conn->error);
        echo json_encode($data);

    }
}
//Delete user
elseif(isset($_POST['deleteid']))
{
    $sql = mysqli_query($conn, "DELETE from userdetails where id =".$_POST['deleteid']);
    if ($sql) {

        $data = array("data" => "Record deleted successfully");
        echo json_encode($data);
      } else {

        $data = array("data" =>"Error deleting record: " . mysqli_error($conn));
        echo json_encode($data);
      }
}
//Get single user details
elseif(isset($_POST['userid']))
{
    $trp = mysqli_query($conn, "SELECT * from userdetails where id =".$_POST['userid']);
    $rows = array();
    while($r = mysqli_fetch_assoc($trp)) {
        $rows[] = $r;
    }
    print json_encode($rows);
}
else
{
    //get all users details
    $trp = mysqli_query($conn, "SELECT * from userdetails ORDER BY id DESC");
    $rows = array();
    while($r = mysqli_fetch_assoc($trp)) {
        $rows[] = $r;
    }


    print json_encode($rows);
}

die();
Now in the end please run ng serve command to check the out on browser(localhost:4200) and also please start your xampp.
Guy’s in next post we will do update user functionality. If you have any kind of query then please comment below.
Jassa
Thanks.
Leave a Reply
You must be logged in to post a comment.