
Hello friends, welcome back to my blog. Today this blog post will tell you, Angular 12 Bootstrap 5 User Login Registration Forms Show Hide on Button Click.
In this post, guys we will cover below things:
- Bootstrap 5 Angular 12 Free Template Creation.
- Angular click event functionality to show hide div.

Angular12 came and Bootstrap 5 as well and if you are new then you must check below two links:
Friends now I proceed onwards and here is the working code snippet and please use carefully this to avoid the mistakes:
1. Firstly friends we need fresh angular 12 setup and for this we need to run below commands but if you already have angular 12 setup then you can avoid below commands. Secondly we should also have latest node version installed on our system:
npm install -g @angular/cli

ng new angularboot5 //Create new Angular Project

cd angularboot5 // Go inside the Angular Project Folder
2. Now friends we need to run below commands into our project terminal to install bootstrap 5 modules into our angular application:
npm install bootstrap
3. Now friends we just need to add below code into angularboot5/src/app/app.component.html file to get final out on the web browser:
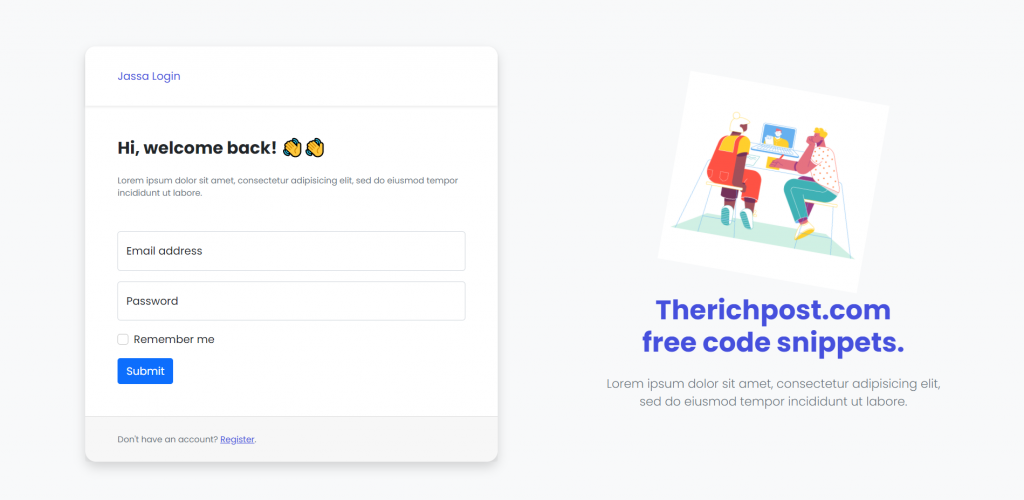
<div class="page-holder align-items-center py-4 bg-gray-100 vh-100">
    <div class="container">
      <div class="row align-items-center">
        <div class="col-lg-6 px-lg-4"  *ngIf="userlogin">
          <div class="card">
            <div class="card-header px-lg-5">
              <div class="card-heading text-primary">Jassa Login</div>
            </div>
            <div class="card-body p-lg-5">
              <h3 class="mb-4">Hi, welcome back! 👋👋</h3>
              <p class="text-muted text-sm mb-5">Lorem ipsum dolor sit amet, consectetur adipisicing elit, sed do eiusmod tempor incididunt ut labore.</p>
              <form id="loginForm" action="index.html">
                <div class="form-floating mb-3">
                  <input class="form-control" id="floatingInput" type="email" placeholder="name@example.com" required>
                  <label for="floatingInput">Email address</label>
                </div>
                <div class="form-floating mb-3">
                  <input class="form-control" id="floatingPassword" type="password" placeholder="Password" required>
                  <label for="floatingPassword">Password</label>
                </div>
                <div class="form-check mb-3">
                  <input class="form-check-input" type="checkbox" name="remember" id="remember">
                  <label class="form-check-label" for="remember">Remember me</label>
                </div>
                <button class="btn btn-primary" type="button">Submit</button>
              </form>
            </div>
            <div class="card-footer px-lg-5 py-lg-4">
              <div class="text-sm text-muted">Don't have an account? <a (click)="user_register()">Register</a>.</div>
            </div>
          </div>
        </div>
        <!-- register -->
         <div class="col-lg-6 px-lg-4" *ngIf="userregister">
          <div class="card">
            <div class="card-header px-lg-5">
              <div class="card-heading text-primary">Jassa Register</div>
            </div>
            <div class="card-body p-lg-5">
              <h3 class="mb-4">Get started with Chamkila</h3>
              <p class="text-muted text-sm mb-5">Lorem ipsum dolor sit amet, consectetur adipisicing elit, sed do eiusmod tempor incididunt ut labore.</p>
              <form action="index.html">
                <div class="form-floating mb-3">
                  <input class="form-control" id="username" type="email" placeholder="name@example.com" required>
                  <label for="username">Username</label>
                </div>
                <div class="form-floating mb-3">
                  <input class="form-control" id="floatingInput" type="email" placeholder="name@example.com" required>
                  <label for="floatingInput">Email address</label>
                </div>
                <div class="form-floating mb-3">
                  <input class="form-control" id="floatingPassword" type="password" placeholder="Password" required>
                  <label for="floatingPassword">Password</label>
                </div>
                <div class="form-check mb-3">
                  <input class="form-check-input" type="checkbox" name="agree" id="agree">
                  <label class="form-check-label" for="agree">I agree with the <a href="#">Terms & Conditions</a>.</label>
                </div>
                <div class="form-group">
                  <button class="btn btn-primary" id="regidter" type="button" name="registerSubmit">Register</button>
                </div>
              </form>
            </div>
            <div class="card-footer px-lg-5 py-lg-4">
              <div class="text-sm text-muted">Already have an account? <a (click)="user_login()">Login</a>.</div>
            </div>
          </div>
        </div>
       <div class="col-lg-6 col-xl-5 ms-xl-auto px-lg-4 text-center text-primary"><img class="img-fluid mb-4" width="300" src="https://therichpost.com/wp-content/uploads/2021/06/login_page_image.png" alt="" style="transform: rotate(10deg)">
          <h1 class="mb-4">Therichpost.com <br class="d-none d-lg-inline">free code  snippets.</h1>
          <p class="lead text-muted">Lorem ipsum dolor sit amet, consectetur adipisicing elit, sed do eiusmod tempor incididunt ut labore.</p>
        </div>
      </div>
    </div>
  </div>
4. Now friends we just need to add below code into angularboot5/angular.json file:
"styles": [
              ...
              "node_modules/bootstrap/dist/css/bootstrap.min.css"
          ]
5. Now friends we just need to add below code into angularboot5/src/app/app.component.css file to add custom styles:
@import url("https://fonts.googleapis.com/css2?family=Poppins:wght@300;400;500;700&display=swap");
.card-header:first-child {
    border-radius: calc(1rem - 1px) calc(1rem - 1px) 0 0;
    }
    .card-header {
    position: relative;
    padding: 2rem 2rem;
    border-bottom: none;
    background-color: white;
    box-shadow: 0 0.125rem 0.25rem rgb(0 0 0 / 8%);
    z-index: 2;
    }
    .card {
    position: relative;
    display: flex;
    flex-direction: column;
    min-width: 0;
    word-wrap: break-word;
    background-color: #fff;
    background-clip: border-box;
    border: none;
    box-shadow: 0 0.5rem 1rem rgb(0 0 0 / 15%);
    border-radius: 1rem;
    }
    .bg-gray-100 {
    background-color: #f8f9fa !important;
    }
    body{
    font-family: 'Poppins'!important;
    }
    .text-primary {
    color: #4650dd !important;
    }
    h1, .h1, h2, .h2, h3, .h3, h4, .h4, h5, .h5, h6, .h6 {

    font-weight: 700;
    line-height: 1.2;
    }
    .text-muted {
    color: #6c757d !important;
    }
    .lead {
    font-size: 1.125rem;
    font-weight: 300;
    }
    .text-sm {
    font-size: .7875rem !important;
    }
    h3, .h3 {
    font-size: 1.575rem;
    }
    .page-holder {
    display: flex;
    overflow-x: hidden;
    width: 100%;
    min-height: calc(100vh - 72px);

    flex-wrap: wrap;
    }
    a {
    color: #4650dd!important;
    text-decoration: underline!important;
    cursor: pointer;
    }
6. Now friends we just need to add below code into angularboot5/src/app/app.component.ts file to add custom scripts:
...
export class AppComponent {
 ...

  //show hide div variables
  userlogin = true;
  userregister = false;

  //Buttons clicks functionalities
  user_register()
  {
    this.userlogin = false;
    this.userregister = true;
  }

  user_login()
  {
    this.userlogin = true;
    this.userregister = false;
  }
}
Friends in the end must run ng serve command into your terminal to run the angular 12 project.
Now we are done friends. If you have any kind of query, suggestion and new requirement then feel free to comment below.
Note: Friends, In this post, I just tell the basic setup and things, you can change the code according to your requirements.
I will appreciate that if you will tell your views for this post. Nothing matters if your views will be good or bad because with your views, I will make my next posts more good and helpful.
Jassa
Thanks
Leave a Reply