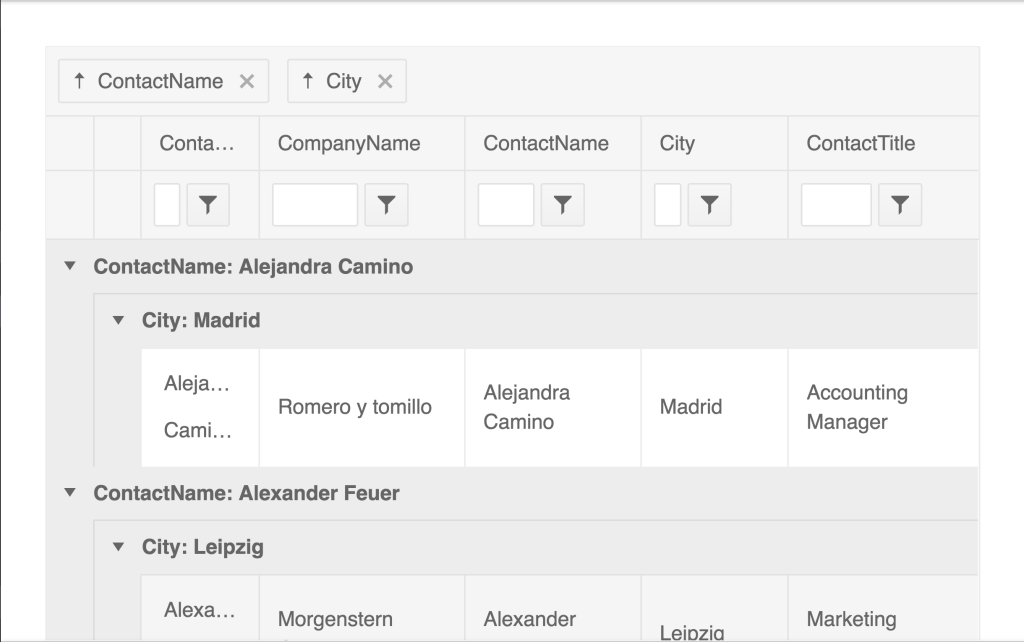
To use Kendo UI components in Angular 17, you will typically follow these steps to ensure that the Kendo UI components are properly integrated and utilized within your Angular project. Kendo UI offers a comprehensive suite of Angular components, which are fully compatible with the latest versions of Angular, providing rich UI and data visualization components.

1. Install Angular CLI
First, ensure you have the Angular CLI installed. If you haven’t installed it yet, you can do so by running the following command:
npm install -g @angular/cli
2. Create a New Angular Project
Create a new Angular project by running:
ng new my-kendo-app
Navigate into your project directory:
cd my-kendo-app
3. Install Kendo UI Components
To use Kendo UI components, you need to install the @progress/kendo-angular-ui package and its dependencies. However, since Kendo UI components are modular, you install each component package individually based on your needs.
For example, to install the Kendo UI Grid and Buttons packages, you would run:
npm install --save @progress/kendo-angular-grid @progress/kendo-angular-buttons @progress/kendo-angular-l10n
4. Import the Kendo UI Modules
After installing the necessary Kendo UI packages, import the modules in your Angular application module (app.module.ts):
import { NgModule } from '@angular/core';
import { BrowserModule } from '@angular/platform-browser';
import { BrowserAnimationsModule } from '@angular/platform-browser/animations';
import { GridModule } from '@progress/kendo-angular-grid';
import { ButtonsModule } from '@progress/kendo-angular-buttons';
import { AppComponent } from './app.component';

@NgModule({
  declarations: [
    AppComponent
  ],
  imports: [
    BrowserModule,
    BrowserAnimationsModule, // Required by Kendo UI components
    GridModule,
    ButtonsModule
  ],
  providers: [],
  bootstrap: [AppComponent]
})
export class AppModule { }
5. Use Kendo UI Components in Your Application
Now, you can use the Kendo UI components within your Angular components. For example, to use a Kendo UI Grid in your application, add the corresponding selector to your component’s template:
<!-- app.component.html -->
<kendo-grid [data]="gridData">
  <kendo-grid-column field="ProductName" title="Product Name"></kendo-grid-column>
  <kendo-grid-column field="UnitPrice" title="Price"></kendo-grid-column>
</kendo-grid>
And define the gridData in your component’s TypeScript file (app.component.ts):
import { Component } from '@angular/core';

@Component({
  selector: 'app-root',
  templateUrl: './app.component.html',
  styleUrls: ['./app.component.css']
})
export class AppComponent {
  public gridData: any[] = [{ ProductName: 'Tea', UnitPrice: 10 }, { ProductName: 'Coffee', UnitPrice: 15 }];
}
6. Running Your Application
Finally, you can run your Angular application to see the Kendo UI components in action:
ng serve
Navigate to http://localhost:4200/ in your web browser to view your application.
Note
This guide assumes a basic understanding of Angular. Depending on your specific requirements, you might need to install additional Kendo UI components or dependencies. Always refer to the official Kendo UI for Angular documentation for the most up-to-date information and detailed instructions on using Kendo UI components with Angular.

Leave a Reply
You must be logged in to post a comment.