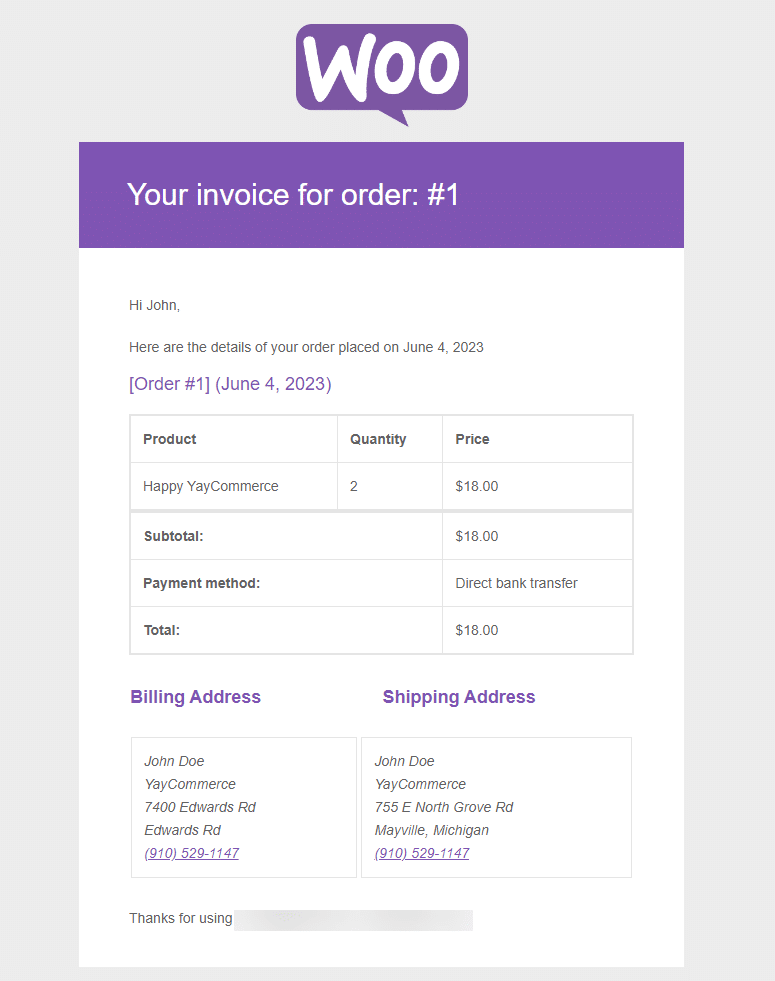
To split WooCommerce order notification emails among different admin recipients based on the product purchased, you can follow these steps:
Guys if you are new in WordPress or in WooCommerce then please check the below links for some good tutorials:

1. Identify Email Recipients
Determine who needs to receive the notification emails for specific products. You may need to create a mapping of product IDs to email addresses.
2. Install a Custom Plugin
Since WooCommerce doesn’t support this feature out of the box, you’ll need to add custom code. This can be done by creating a simple plugin or adding code to your theme’s functions.php file.
3. Write the Code
Here’s a basic example of how you can write this code:
function custom_wc_order_email_recipients( $recipient, $order ) {
    if ( ! is_a( $order, 'WC_Order' ) ) return $recipient;

    // Define product IDs and corresponding emails
    $product_emails = array(
        123 => 'admin1@example.com', // Product ID 123
        124 => 'admin2@example.com', // Product ID 124
        125 => 'admin3@example.com', // Product ID 125
    );

    // Loop through the items in the order
    foreach ( $order->get_items() as $item ) {
        if ( array_key_exists( $item->get_product_id(), $product_emails ) ) {
            // Add corresponding email if a matching product is found
            $recipient .= ',' . $product_emails[$item->get_product_id()];
        }
    }

    return $recipient;
}
add_filter( 'woocommerce_email_recipient_new_order', 'custom_wc_order_email_recipients', 10, 2 );
add_filter( 'woocommerce_email_recipient_customer_completed_order', 'custom_wc_order_email_recipients', 10, 2 );
Details
$product_emails: This array maps product IDs to email addresses. Update this with actual product IDs and the email addresses of the recipients.woocommerce_email_recipient_new_order: This filter adjusts the recipient of new order notifications. You can also apply this to other email types by replacing the filter hook.$recipient .= ',': This appends the new recipient email addresses to the list. Ensure there are no duplicate addresses to avoid sending multiple emails to the same person.
4. Install and Activate the Plugin
If you put this code in a plugin:
- Place the PHP code in a new file in the
wp-content/pluginsdirectory. - Go to the WordPress Admin Dashboard and activate the plugin.
If you add this code to your theme’s functions.php:
- Simply paste it at the end of the
functions.phpfile of your active theme.
5. Test Your Setup
Make test purchases to ensure that emails are sent correctly to the designated recipients based on the products purchased.
This solution should help you manage different admin recipients for order notifications based on the specific products purchased in WooCommerce. Adjust the product IDs and email addresses as needed to fit your shop’s requirements.
Ajay
Thanks
Leave a Reply
You must be logged in to post a comment.