Hello everyone, if you’re in search of a responsive and user-friendly admin dashboard template in Angular 20+, then you’ve come to the right place! Today this blog post I will show you How to Build a User-Management Module in CoreUI Angular 20 Dashboard?
Angular 20 came and Bootstrap 5 also. If you are new then you must check below two links:
Guys now here is the complete modified code snippet with GitHub link:
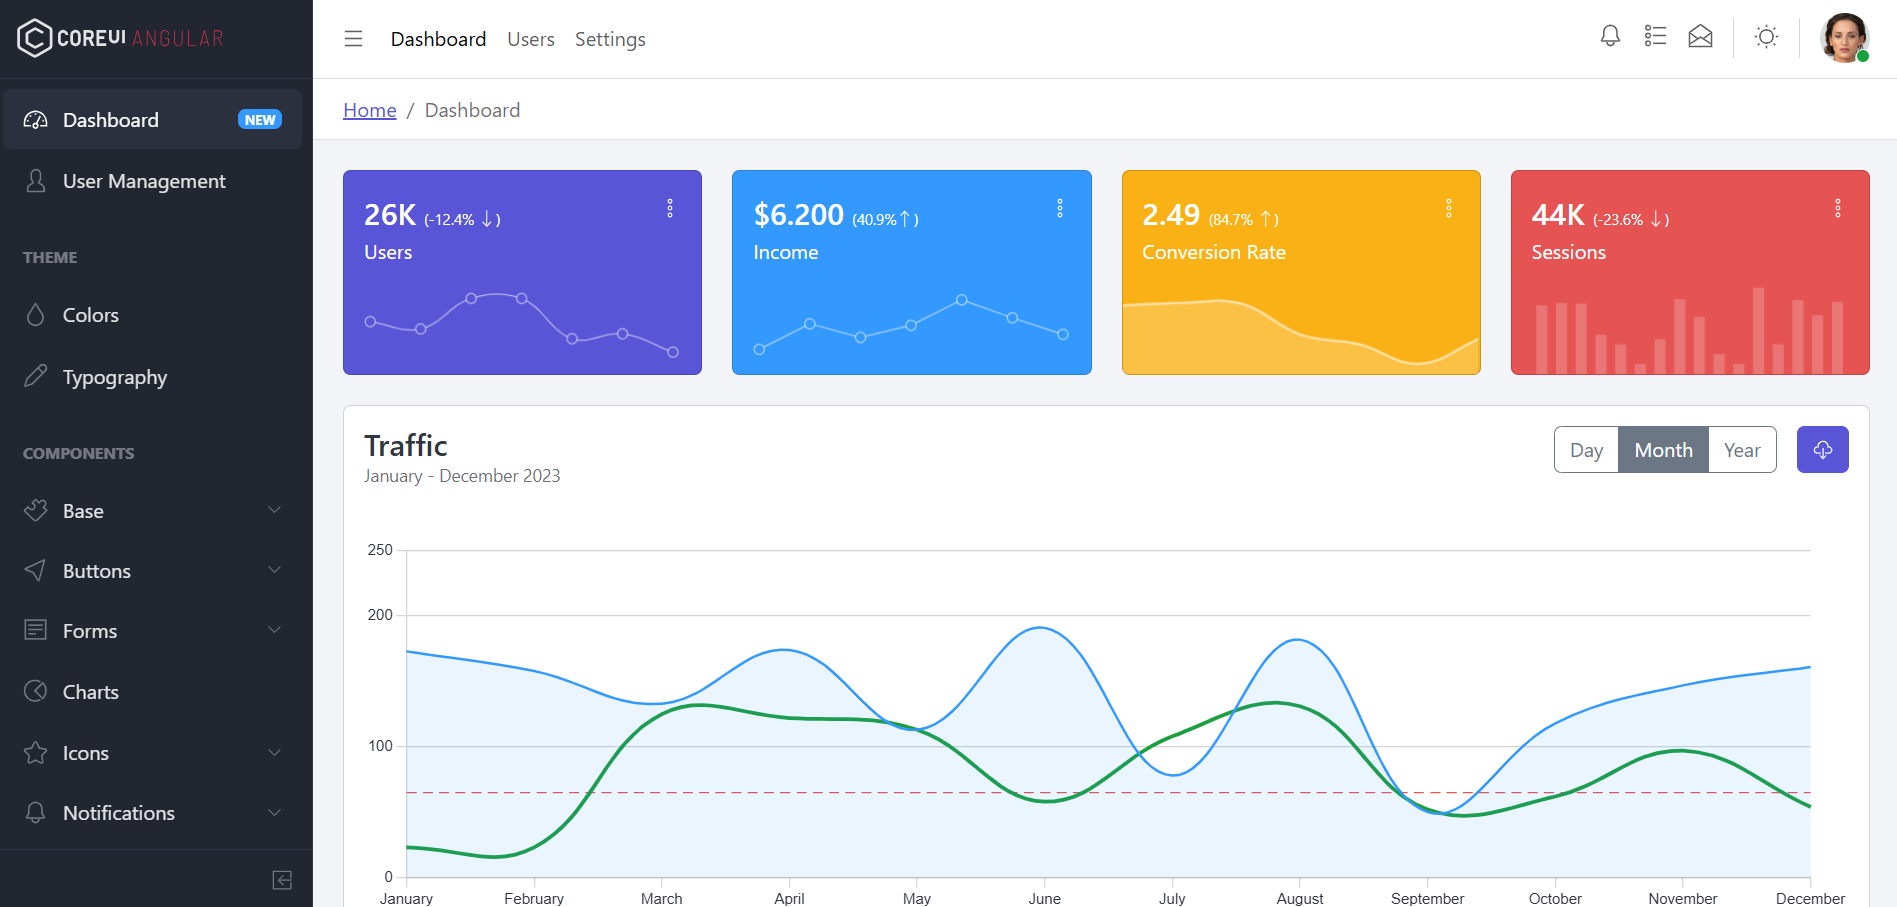
Guys in video above I have shown all like from where I got this template COREUI and how to install and run. These are very simple steps to do but main thing I will explain below that customize the dashboard and add user management module and please follow below code snippet carefully.
Download Project GitHub link : GitHub Link
1.In COREUI project folder structure we need to run below commands inside terminal:
# Create folder structure by generating pages for users
ng generate component views/users/pages/user-list --standalone
ng generate component views/users/pages/add-user --standalone
2. Now guys also create routes.ts file inside src/app/views/users/pages folder.
3. Now we will have folder structure like this:
src/app/views/users/
 ├── pages/
 │    ├── user-list/
 │    │    ├── user-list.component.ts
 │    │    ├── user-list.component.html
 │    │    └── user-list.component.scss
 │    └── add-user/
 │         ├── add-user.component.ts
 │         ├── add-user.component.html
 │         └── add-user.component.scss
 ├── routes.ts
4. Now guys we need to add below code inside user-list.component.ts file:
import { Component, effect } from '@angular/core';
import { Router } from '@angular/router';
import { UserService, User } from '../../services/user.service';
import { CommonModule } from '@angular/common';

@Component({
  selector: 'app-user-list',
  standalone: true,
  imports: [CommonModule],  // include CommonModule, RouterModule as needed
  templateUrl: './user-list.component.html'
})
export class UserListComponent {
  users: User[] = [];

  constructor(private router: Router, private userService: UserService) {
    // Use effect to react when users signal changes
    effect(() => {
      this.users = this.userService.users();
    });
  }

  addUser() {
    this.router.navigate(['/users/add']);
  }

  deleteUser(index: number) {
    this.userService.deleteUser(index);
  }
}
5. Now we need to add below code inside user-list.component.html file:
<div class="card">
  <div class="card-header d-flex justify-content-between align-items-center">
    <h5>User Management</h5>
    <button class="btn btn-primary btn-sm" (click)="addUser()">+ Add User</button>
  </div>
  <div class="card-body">
    <table class="table table-striped">
      <thead>
        <tr><th>#</th><th>Name</th><th>Email</th><th>Role</th><th>Actions</th></tr>
      </thead>
      <tbody>
        <tr *ngFor="let user of users; let i = index">
          <td>{{ i + 1 }}</td>
          <td>{{ user.name }}</td>
          <td>{{ user.email }}</td>
          <td>{{ user.role }}</td>
          <td>

            <button class="btn btn-sm btn-outline-danger" (click)="deleteUser(i)">Delete</button>
          </td>
        </tr>
      </tbody>
    </table>
  </div>
</div>
6. Now guys we need to add below code inside add-user.component.ts file:
import { Component } from '@angular/core';
import { CommonModule } from '@angular/common';
import { ReactiveFormsModule, FormBuilder, FormGroup, Validators } from '@angular/forms';
import { RouterModule, Router } from '@angular/router';
import { UserService, User } from '../../services/user.service';

@Component({
  selector: 'app-add-user',
  standalone: true,
  imports: [CommonModule, ReactiveFormsModule, RouterModule],
  templateUrl: './add-user.component.html',
  styleUrls: ['./add-user.component.scss']
})
export class AddUserComponent {
  userForm: FormGroup;

  constructor(
    private fb: FormBuilder,
    private router: Router,
    private userService: UserService
  ) {
    this.userForm = this.fb.group({
      name: ['', Validators.required],
      email: ['', [Validators.required, Validators.email]],
      role: ['Viewer', Validators.required]
    });
  }

  onSubmit(): void {
    if (this.userForm.valid) {
      const newUser: User = {
        name: this.userForm.value.name,
        email: this.userForm.value.email,
        role: this.userForm.value.role
      };
      this.userService.addUser(newUser);
      this.router.navigate(['/users']);
    }
  }

  cancel(): void {
    this.router.navigate(['/users']);
  }
}
7. Now guys we need to add below code inside add-user.component.html file:
<div class="card">
  <div class="card-header"><h5>Add New User</h5></div>
  <div class="card-body">
    <form [formGroup]="userForm" (ngSubmit)="onSubmit()">
      <div class="mb-3">
        <label class="form-label">Full Name</label>
        <input formControlName="name" class="form-control" placeholder="Enter full name">
      </div>
      <div class="mb-3">
        <label class="form-label">Email</label>
        <input formControlName="email" type="email" class="form-control" placeholder="Enter email">
      </div>
      <div class="mb-3">
        <label class="form-label">Role</label>
        <select formControlName="role" class="form-select">
          <option>Admin</option>
          <option>Editor</option>
          <option>Viewer</option>
        </select>
      </div>
      <button class="btn btn-success" type="submit" [disabled]="userForm.invalid">Add User</button>
      <button class="btn btn-secondary ms-2" type="button" (click)="cancel()">Cancel</button>
    </form>
  </div>
</div>
8. Now guys we need to add below code inside src/app/views/users/pages/routes.ts file:
import { Routes } from '@angular/router';
import { UserListComponent } from './user-list/user-list.component';
import { AddUserComponent } from './add-user/add-user.component';

export const usersRoutes: Routes = [
  { path: '', component: UserListComponent },
  { path: 'add', component: AddUserComponent },
];
9. Now guys we need to run below command to create service for add user:
# Generate the service
ng generate service views/users/services/user --skip-tests

# It will create something like:
# src/app/views/users/services/user.service.ts
10. Now guys we need to add below code inside src/app/views/users/services/user.service.ts file:
import { Injectable, signal, WritableSignal } from '@angular/core';

export interface User {
  name: string;
  email: string;
  role: string;
}

@Injectable({
  providedIn: 'root'
})
export class UserService {
  private _users: WritableSignal<User[]> = signal([
    { name: 'John Doe', email: 'john@example.com', role: 'Admin' },
    { name: 'Jane Smith', email: 'jane@example.com', role: 'Editor' }
  ]);

  // Expose as read-only signal
  readonly users = this._users.asReadonly();

  addUser(user: User) {
    this._users.set([ ...this._users(), user ]);
  }

  deleteUser(index: number) {
    const list = this._users();
    list.splice(index, 1);
    this._users.set([ ...list ]);
  }
}
11. Now guys we need to update src/app/app.routes .ts file:
...
import { usersRoutes } from './views/users/pages/routes';

...
children: [
      { path: 'users', children: usersRoutes },
...
12. To add link inside sidebar nav we need to update app/layout/default-layout/_nav.ts file:
{
  name: 'User Management',
  url: '/users',
  iconComponent: { name: 'cil-user' }
}
Now guy is ready just run the project and see the output.
Summary
In this post you built:
- A full User Management module in Angular 20
- Used the Signals API for reactive state
- Created standalone components, routed them, and integrated them into your dashboard layout
- You now have a strong base you can build upon for enterprise features
Got questions? Drop them in the comments — happy to help!
Ajay
Thanks