Hello guys, how are you? Welcome back to my blog therichpost.com. Today in this post I will show you How to Add a User Management Page in Material Kit React Dashboard (Step-by-Step Guide).
For react js new comers, please check the below links:
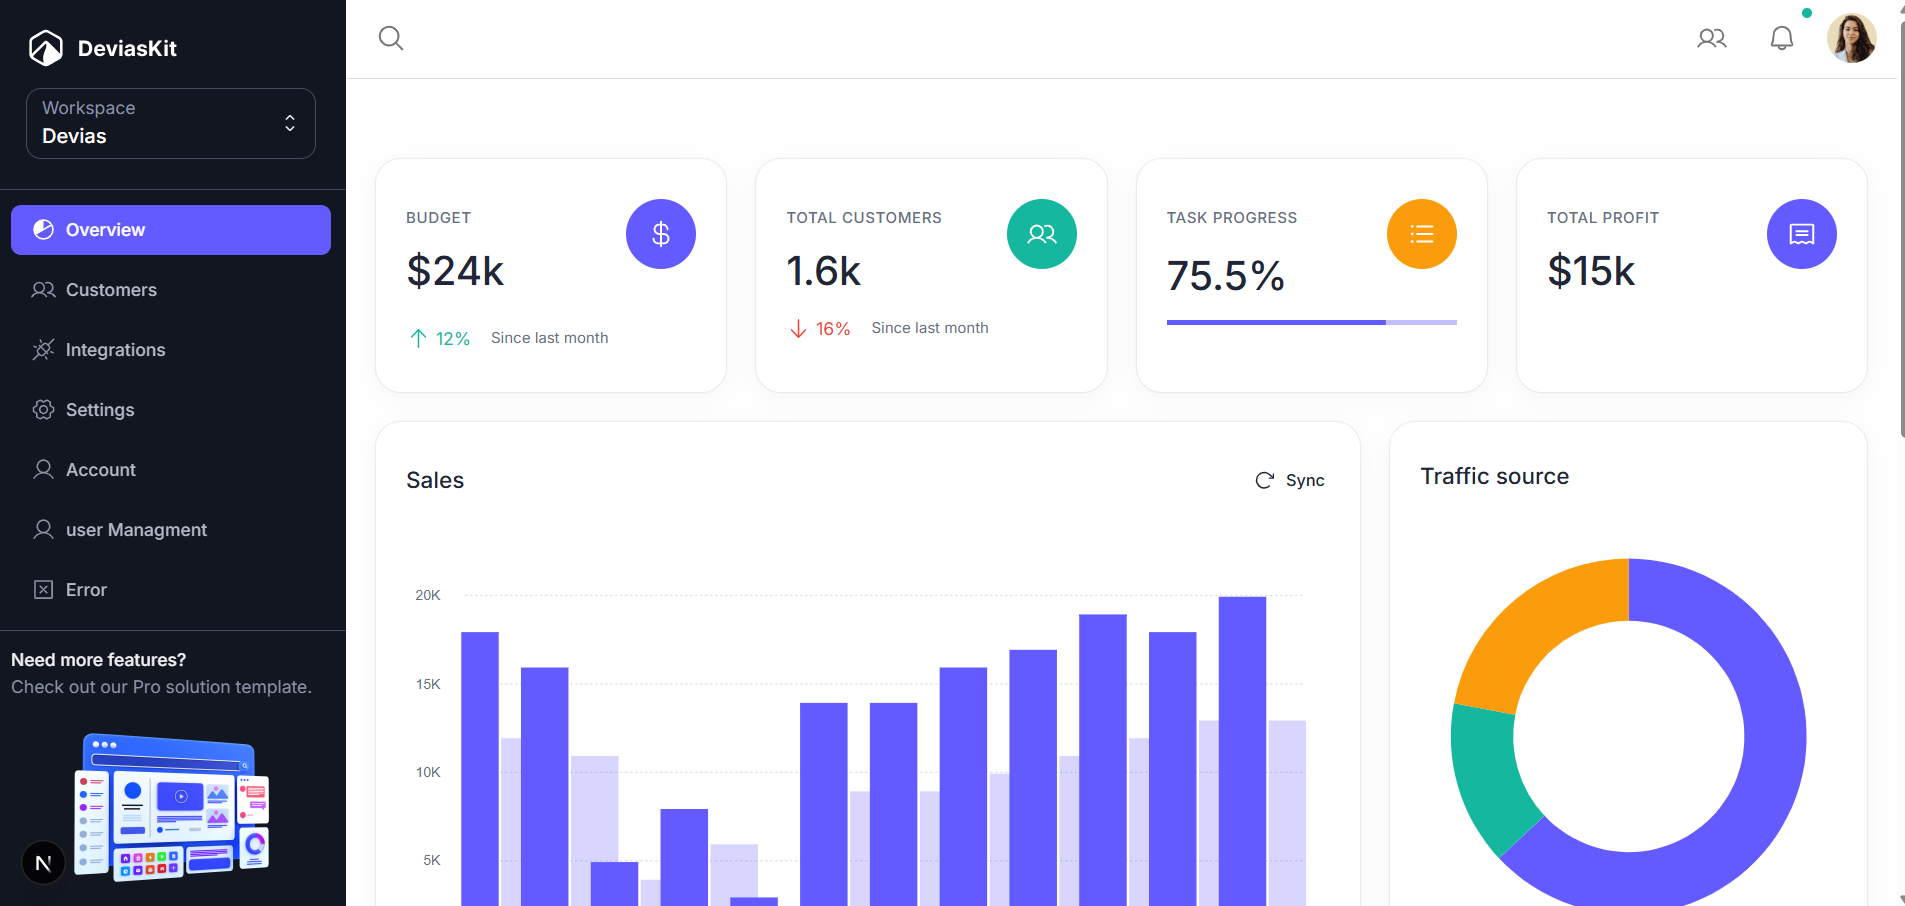
If you’re building admin dashboards with React and Material UI, Material Kit React by Devias is one of the best free templates to start with.
In this tutorial, we’ll walk through how to add a custom User Management page and integrate it into the existing sidebar navigation — while keeping the full layout (header + sidebar) intact.By the end of this guide, you’ll have a fully functional page that fits seamlessly into the Material Kit React structure.
⚙️ Step 1: Project Setup
If you haven’t already, clone the Material Kit React dashboard from GitHub:
git clone https://github.com/devias-io/material-kit-react.git
cd material-kit-react
npm install
npm run dev
🧩 Step 2: Create the User Management Page
Create a new file at:
📁 src/app/user-management/page.tsx
Paste the following code:
'use client';
import * as React from 'react';
import { Card, CardContent, Typography, Button, Table, TableBody, TableCell, TableHead, TableRow } from '@mui/material';

export default function UserManagementPage() {
  const users = [
    { id: 1, name: 'Alice Johnson', role: 'Admin', status: 'Active' },
    { id: 2, name: 'Bob Smith', role: 'Teacher', status: 'Active' },
    { id: 3, name: 'Charlie Brown', role: 'Student', status: 'Inactive' },
  ];

  return (
    <Card>
      <CardContent>
        <Typography variant="h5" gutterBottom>
          👥 User Management
        </Typography>

        <Button variant="contained" color="primary" sx={{ mb: 2 }}>
          Add New User
        </Button>

        <Table>
          <TableHead>
            <TableRow>
              <TableCell>ID</TableCell>
              <TableCell>Name</TableCell>
              <TableCell>Role</TableCell>
              <TableCell>Status</TableCell>
            </TableRow>
          </TableHead>
          <TableBody>
            {users.map((user) => (
              <TableRow key={user.id}>
                <TableCell>{user.id}</TableCell>
                <TableCell>{user.name}</TableCell>
                <TableCell>{user.role}</TableCell>
                <TableCell>{user.status}</TableCell>
              </TableRow>
            ))}
          </TableBody>
        </Table>
      </CardContent>
    </Card>
  );
}
Create a new file at:
📁 src/app/user-management/layout.tsx
Paste the following code:
import * as React from 'react';
import Box from '@mui/material/Box';
import Container from '@mui/material/Container';
import GlobalStyles from '@mui/material/GlobalStyles';

import { AuthGuard } from '@/components/auth/auth-guard';
import { MainNav } from '@/components/dashboard/layout/main-nav';
import { SideNav } from '@/components/dashboard/layout/side-nav';

interface LayoutProps {
  children: React.ReactNode;
}

export default function Layout({ children }: LayoutProps): React.JSX.Element {
  return (
    <AuthGuard>
      <GlobalStyles
        styles={{
          body: {
            '--MainNav-height': '56px',
            '--MainNav-zIndex': 1000,
            '--SideNav-width': '280px',
            '--SideNav-zIndex': 1100,
            '--MobileNav-width': '320px',
            '--MobileNav-zIndex': 1100,
          },
        }}
      />
      <Box
        sx={{
          bgcolor: 'var(--mui-palette-background-default)',
          display: 'flex',
          flexDirection: 'column',
          position: 'relative',
          minHeight: '100%',
        }}
      >
        <SideNav />
        <Box sx={{ display: 'flex', flex: '1 1 auto', flexDirection: 'column', pl: { lg: 'var(--SideNav-width)' } }}>
          <MainNav />
          <main>
            <Container maxWidth="xl" sx={{ py: '64px' }}>
              {children}
            </Container>
          </main>
        </Box>
      </Box>
    </AuthGuard>
  );
}
🗂️ Step 3: Add the Page Link to Sidebar
Find and open this file:
📁 src/components/dashboard/layout/config.ts
Add a new item inside your navItems array:
import type { NavItemConfig } from '@/types/nav';
import { paths } from '@/paths';

export const navItems = [
  { key: 'overview', title: 'Overview', href: paths.dashboard.overview, icon: 'chart-pie' },
  { key: 'customers', title: 'Customers', href: paths.dashboard.customers, icon: 'users' },
  { key: 'integrations', title: 'Integrations', href: paths.dashboard.integrations, icon: 'plugs-connected' },
  { key: 'settings', title: 'Settings', href: paths.dashboard.settings, icon: 'gear-six' },
  { key: 'usermanagment', title: 'user Managment', href: paths.dashboard.usermanagment, icon: 'user' },
  { key: 'account', title: 'Account', href: paths.dashboard.account, icon: 'user' },

  { key: 'error', title: 'Error', href: paths.errors.notFound, icon: 'x-square' },
] satisfies NavItemConfig[];
update your paths.ts file as well:
export const paths = {
  home: '/',
  auth: { signIn: '/auth/sign-in', signUp: '/auth/sign-up', resetPassword: '/auth/reset-password' },
  dashboard: {
    overview: '/dashboard',
    account: '/dashboard/account',
    customers: '/dashboard/customers',
    integrations: '/dashboard/integrations',
    settings: '/dashboard/settings',
    usermanagment: '/user-management'
  },
  errors: { notFound: '/errors/not-found' },
} as const;
🎨 Step 5: Test Your Page
Run the app:
npm run dev
Navigate to 👉 http://localhost:3000/user-management
You’ll see the new User Management page inside the Material Kit layout, with a sidebar link that’s fully functional.
You’ve just extended a professional Material UI dashboard with your own custom page — this skill is essential for building scalable admin systems.
In future posts, we’ll enhance this with:
- Search and filtering
- CRUD operations (Add/Edit/Delete)
- API integration
If you found this helpful, check out more videos tutorial on YouTube 🎥
👉 [YouTube Videos Link Here]
Ajay
Thanks