Hello to all, welcome therichpost.com. In this post, I will tell you, Elementor pro add custom addon working example.

If you are new in WordPress then you can check my old posts related to Wordpess.
Guys here is the working code snippet and please use it carefully:
1. Guys here is the folder structure for elemetor pro addon that we will make inside wp-content/plugins/ folder:

2. Now guys we will add below code inside wp-content/plugins/elementor-addon/elementor-addon.php file:
<?php
/**
 * Plugin Name: Elementor Addon
 * Description: Simple hello world widgets for Elementor.
 * Version:     1.0.0
 * Author:      Elementor Developer
 * Author URI:  https://therichpost.com/
 * Text Domain: elementor-addon
 */

function register_hello_world_widget( $widgets_manager ) {

  require_once( __DIR__ . '/widgets/hello-world-widget-1.php' );
  require_once( __DIR__ . '/widgets/hello-world-widget-2.php' );

  $widgets_manager->register( new \Elementor_Hello_World_Widget_1() );
  $widgets_manager->register( new \Elementor_Hello_World_Widget_2() );

}
add_action( 'elementor/widgets/register', 'register_hello_world_widget' );
3. Now guys we will add below code inside wp-content/plugins/elementor-addon/widgets/hello-world-widget-1.php file:
<?php
class Elementor_Hello_World_Widget_1 extends \Elementor\Widget_Base {

  public function get_name() {
    return 'hello_world_widget_1';
  }

  public function get_title() {
    return esc_html__( 'Hello World 1', 'elementor-addon' );
  }

  public function get_icon() {
    return 'eicon-code';
  }

  public function get_categories() {
    return [ 'basic' ];
  }

  public function get_keywords() {
    return [ 'hello', 'world' ];
  }

  protected function render() {
    ?>

    <p> Hello World </p>

    <?php
  }
}
4. Now guys we will add below code inside wp-content/plugins/elementor-addon/widgets/hello-world-widget-2.php file:
<?php
class Elementor_Hello_World_Widget_2 extends \Elementor\Widget_Base {

  public function get_name() {
    return 'hello_world_widget_2';
  }

  public function get_title() {
    return esc_html__( 'Hello World 2', 'elementor-addon' );
  }

  public function get_icon() {
    return 'eicon-code';
  }

  public function get_categories() {
    return [ 'basic' ];
  }

  public function get_keywords() {
    return [ 'hello', 'world' ];
  }

  protected function register_controls() {

    // Content Tab Start

    $this->start_controls_section(
      'section_title',
      [
        'label' => esc_html__( 'Title', 'elementor-addon' ),
        'tab' => \Elementor\Controls_Manager::TAB_CONTENT,
      ]
    );

    $this->add_control(
      'title',
      [
        'label' => esc_html__( 'Title', 'elementor-addon' ),
        'type' => \Elementor\Controls_Manager::TEXTAREA,
        'default' => esc_html__( 'Hello world', 'elementor-addon' ),
      ]
    );

    $this->end_controls_section();

    // Content Tab End


    // Style Tab Start

    $this->start_controls_section(
      'section_title_style',
      [
        'label' => esc_html__( 'Title', 'elementor-addon' ),
        'tab' => \Elementor\Controls_Manager::TAB_STYLE,
      ]
    );

    $this->add_control(
      'title_color',
      [
        'label' => esc_html__( 'Text Color', 'elementor-addon' ),
        'type' => \Elementor\Controls_Manager::COLOR,
        'selectors' => [
          '{{WRAPPER}} .hello-world' => 'color: {{VALUE}};',
        ],
      ]
    );

    $this->end_controls_section();

    // Style Tab End

  }

  protected function render() {
    $settings = $this->get_settings_for_display();
    ?>

    <p class="hello-world">
      <?php echo $settings['title']; ?>
    </p>

    <?php
  }
}
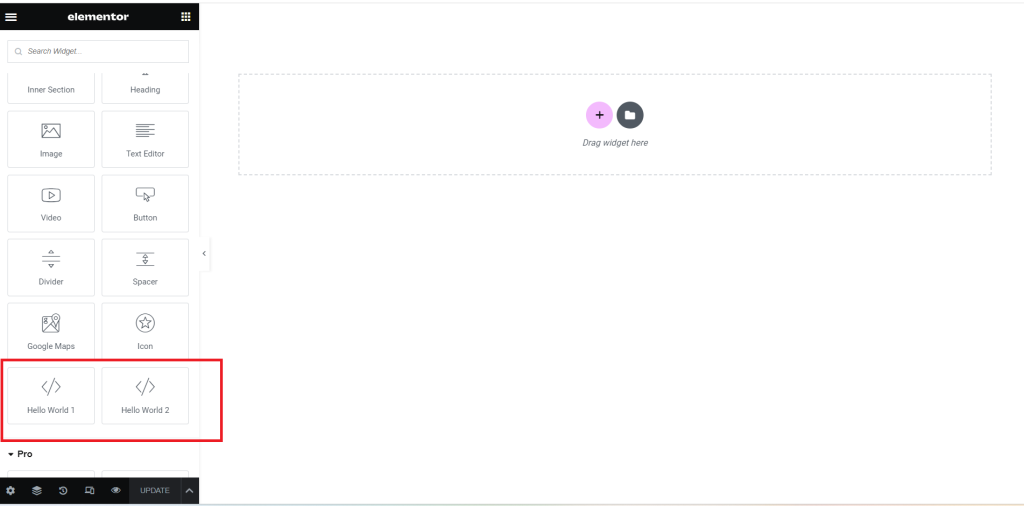
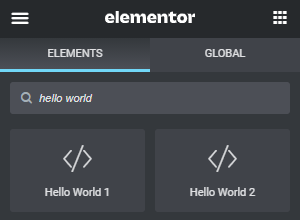
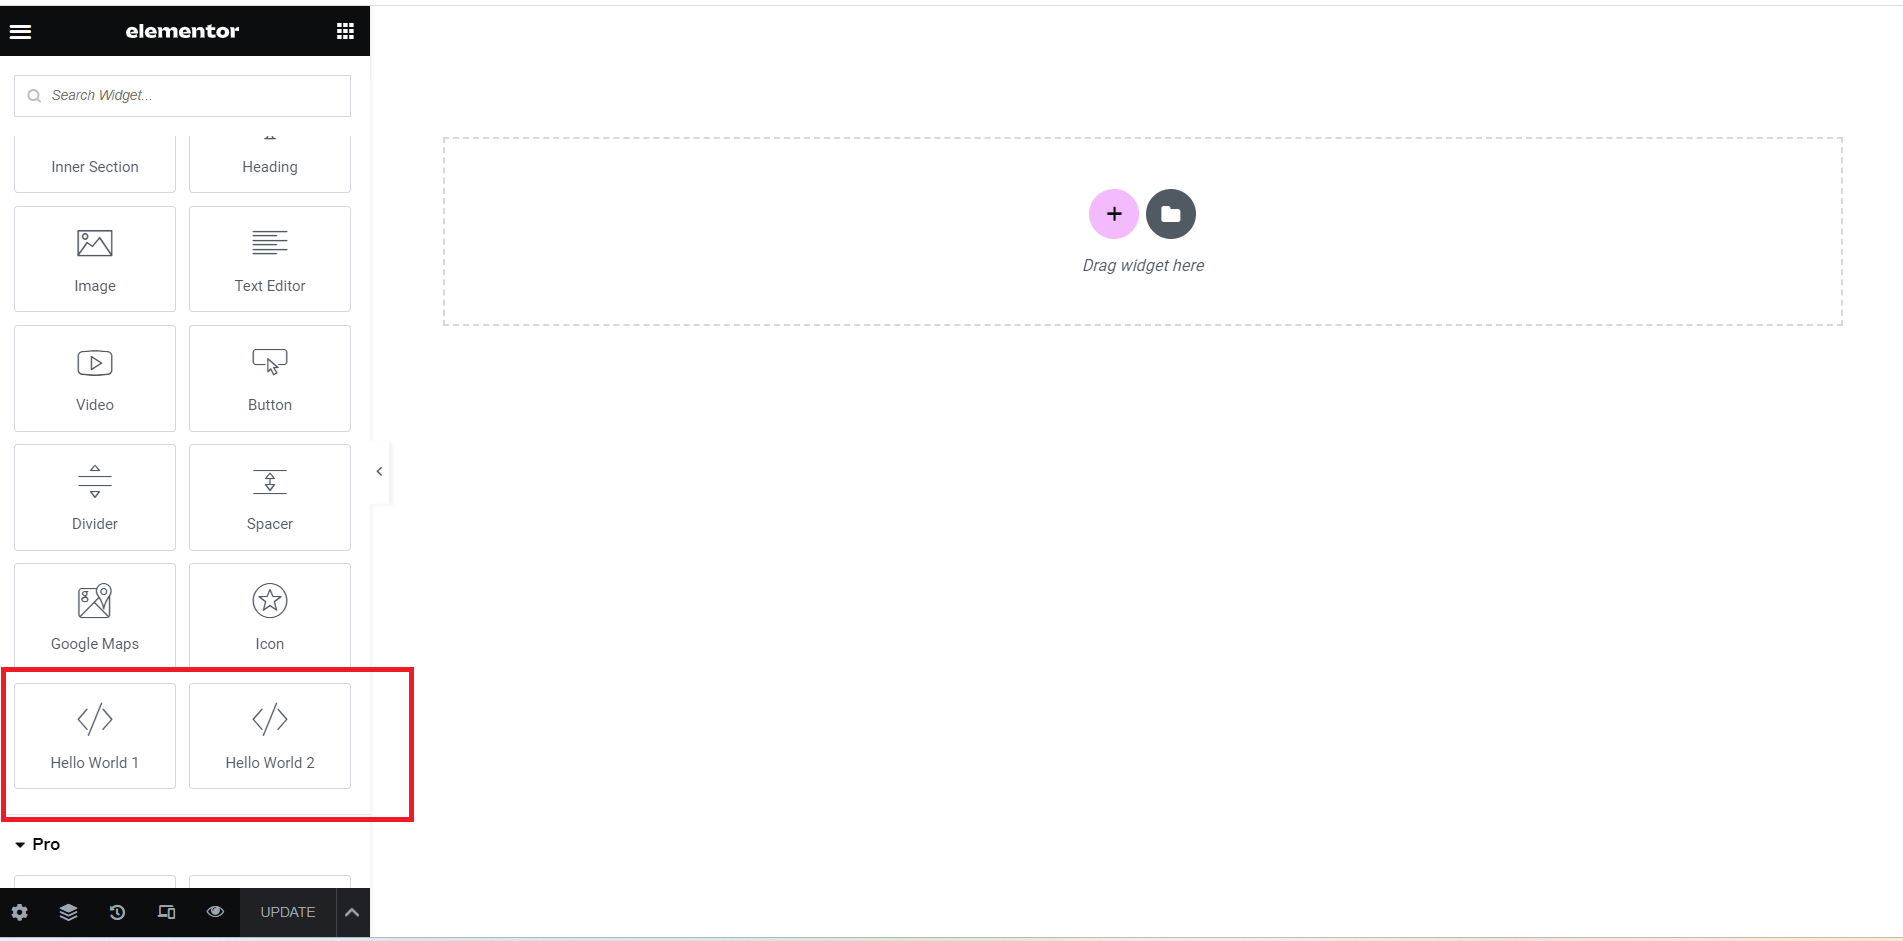
After adding above code snippet into all the files we will see below things into your project inside plugins and elementor pro sections:


Guys we are done with elementor pro custom add on functionality and if you will have any query then please feel free to comment below.
Jassa
Thanks

Leave a Reply
You must be logged in to post a comment.