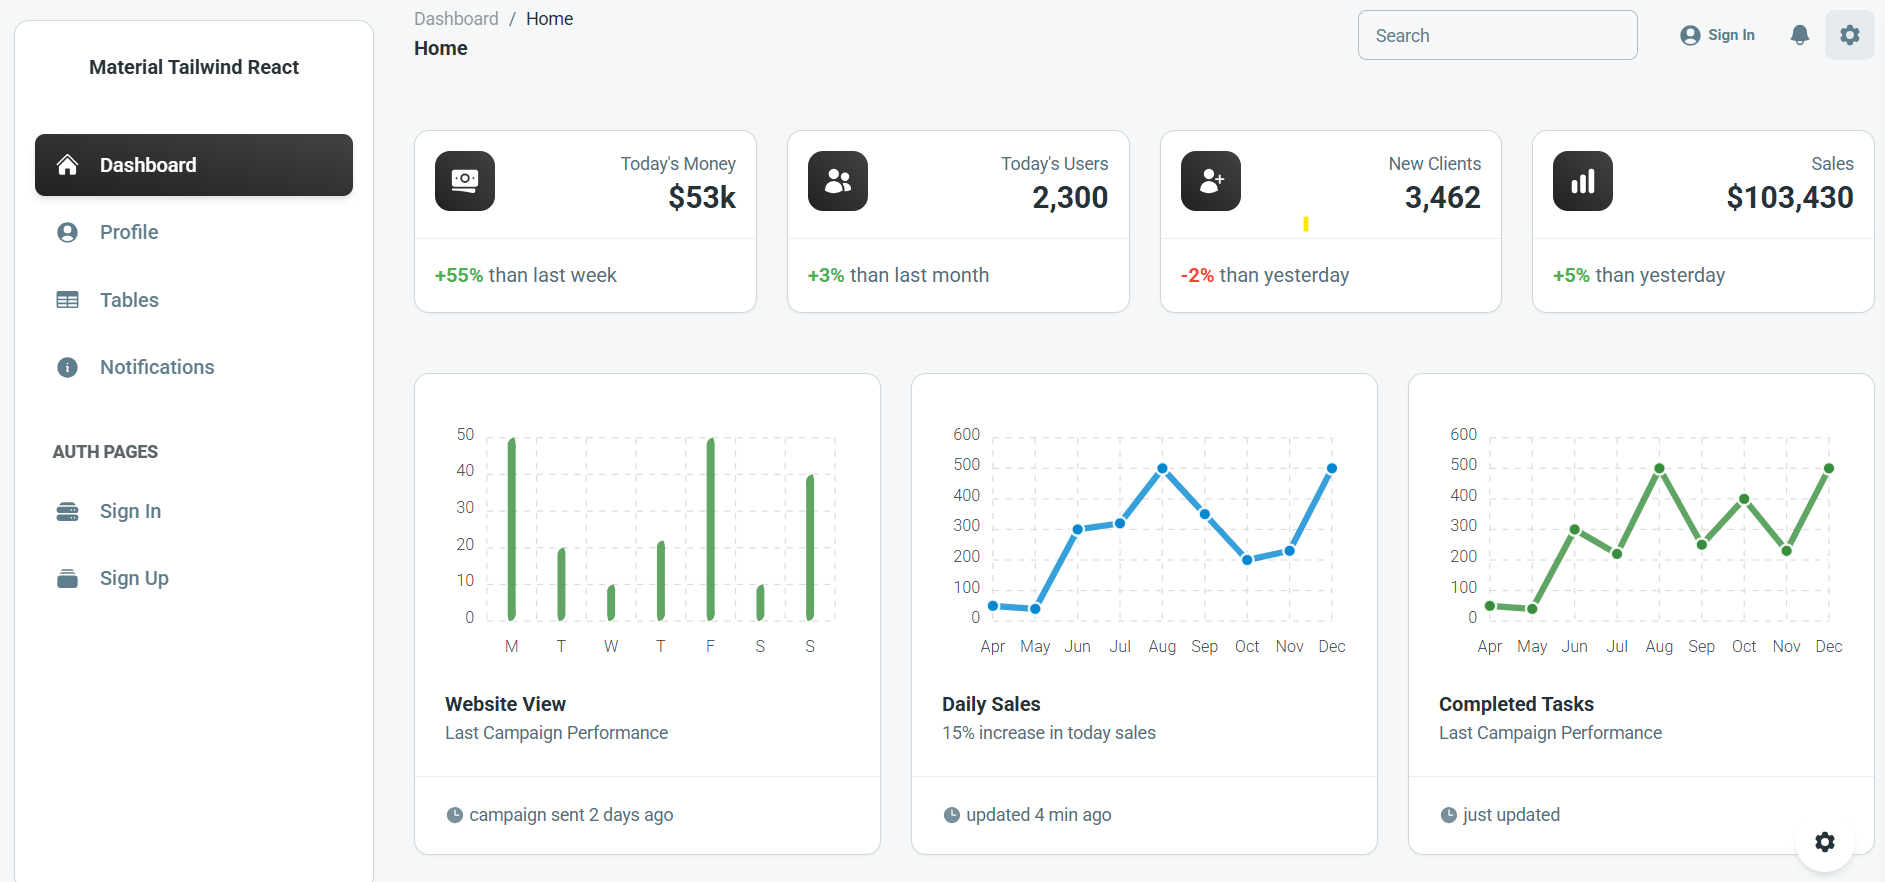
Hello guys, how are you? Welcome back to my blog therichpost.com. Today in this post I am going to Create a Custom User Management Page | Material Tailwind Dashboard React Tutorial.
For react js new comers, please check the below links:
Guys here is the code snippet and please use carefully:
Create src/layouts/UserManagement/index.jsx
Here’s a clean, working version you can use — built with Material Tailwind, no MUI imports, no breaking layout logic:
import { Card, Typography, Button, Input } from "@material-tailwind/react";
import { useState } from "react";

export default function UserManagement() {
  const [users, setUsers] = useState([
    { id: 1, name: "Ajay Malhotra", email: "ajay@example.com" },
    { id: 2, name: "Riya Patel", email: "riya@example.com" },
  ]);

  const [newUser, setNewUser] = useState({ name: "", email: "" });

  const handleAddUser = () => {
    if (newUser.name && newUser.email) {
      setUsers([...users, { id: users.length + 1, ...newUser }]);
      setNewUser({ name: "", email: "" });
    }
  };

  return (
    <div className="p-8">
      <Typography variant="h4" color="blue-gray" className="mb-4 font-bold">
        User Management
      </Typography>

      <Card className="p-6 mb-6">
        <Typography variant="h6" className="mb-4">
          Add New User
        </Typography>
        <div className="flex flex-col md:flex-row gap-4">
          <Input
            label="Full Name"
            value={newUser.name}
            onChange={(e) => setNewUser({ ...newUser, name: e.target.value })}
          />
          <Input
            label="Email Address"
            value={newUser.email}
            onChange={(e) => setNewUser({ ...newUser, email: e.target.value })}
          />
          <Button color="blue" onClick={handleAddUser}>
            Add User
          </Button>
        </div>
      </Card>

      <Card className="p-6">
        <Typography variant="h6" className="mb-4">
          Existing Users
        </Typography>
        <table className="w-full table-auto text-left">
          <thead>
            <tr>
              <th className="p-3 border-b border-blue-gray-50">#</th>
              <th className="p-3 border-b border-blue-gray-50">Name</th>
              <th className="p-3 border-b border-blue-gray-50">Email</th>
            </tr>
          </thead>
          <tbody>
            {users.map((user) => (
              <tr key={user.id}>
                <td className="p-3 border-b border-blue-gray-50">{user.id}</td>
                <td className="p-3 border-b border-blue-gray-50">{user.name}</td>
                <td className="p-3 border-b border-blue-gray-50">{user.email}</td>
              </tr>
            ))}
          </tbody>
        </table>
      </Card>
    </div>
  );
}
Update your src/routes.jsx
Make sure this line exists and points correctly:
import {
  HomeIcon,
  UserCircleIcon,
  TableCellsIcon,
  InformationCircleIcon,
  ServerStackIcon,
  RectangleStackIcon,
} from "@heroicons/react/24/solid";
import { Home, Profile, Tables, Notifications } from "@/pages/dashboard";
import { SignIn, SignUp } from "@/pages/auth";
import UserManagement from "@/layouts/UserManagement";

const icon = {
  className: "w-5 h-5 text-inherit",
};

export const routes = [
  {
    layout: "dashboard",
    pages: [
      {
        icon: <HomeIcon {...icon} />,
        name: "dashboard",
        path: "/home",
        element: <Home />,
      },
      {
        icon: <UserCircleIcon {...icon} />,
        name: "profile",
        path: "/profile",
        element: <Profile />,
      },
      {
        icon: <TableCellsIcon {...icon} />,
        name: "tables",
        path: "/tables",
        element: <Tables />,
      },
      {
        icon: <InformationCircleIcon {...icon} />,
        name: "notifications",
        path: "/notifications",
        element: <Notifications />,
      },
      {
        icon: <UserCircleIcon {...icon} />,
        name: "User Management",
        path: "/user-management",
        element: <UserManagement />,
      },
    ],
  },
  {
    title: "auth pages",
    layout: "auth",
    pages: [
      {
        icon: <ServerStackIcon {...icon} />,
        name: "sign in",
        path: "/sign-in",
        element: <SignIn />,
      },
      {
        icon: <RectangleStackIcon {...icon} />,
        name: "sign up",
        path: "/sign-up",
        element: <SignUp />,
      },
    ],
  },
];

export default routes;
Guys just run npm run dev command and see the output.
Guys if you will have any kind of query then feel free to contact me.
Ajay
Thanks
